Showing posts with label gasifier. Show all posts

Wednesday, August 31, 2011

Woodgas Flare!

After months of work, the gasifier is actually making woodgas today...I have plugged all of the leaks - a tedious process involving soapy water, a shopvac blower, and silicone goop. But it paid off today! I duck-taped up a temporary blower on a stand:


 I filled the gasifier up with charcoal, ashes and wood. Sort of a pre-fab woodgas ecosystem.

Lit the charcoal, closed the lid and ran the blower:


Wait and wait. Check the temporary seals for leaks. Wait some more. The smoke got thicker and thicker, and I tried lighting it:

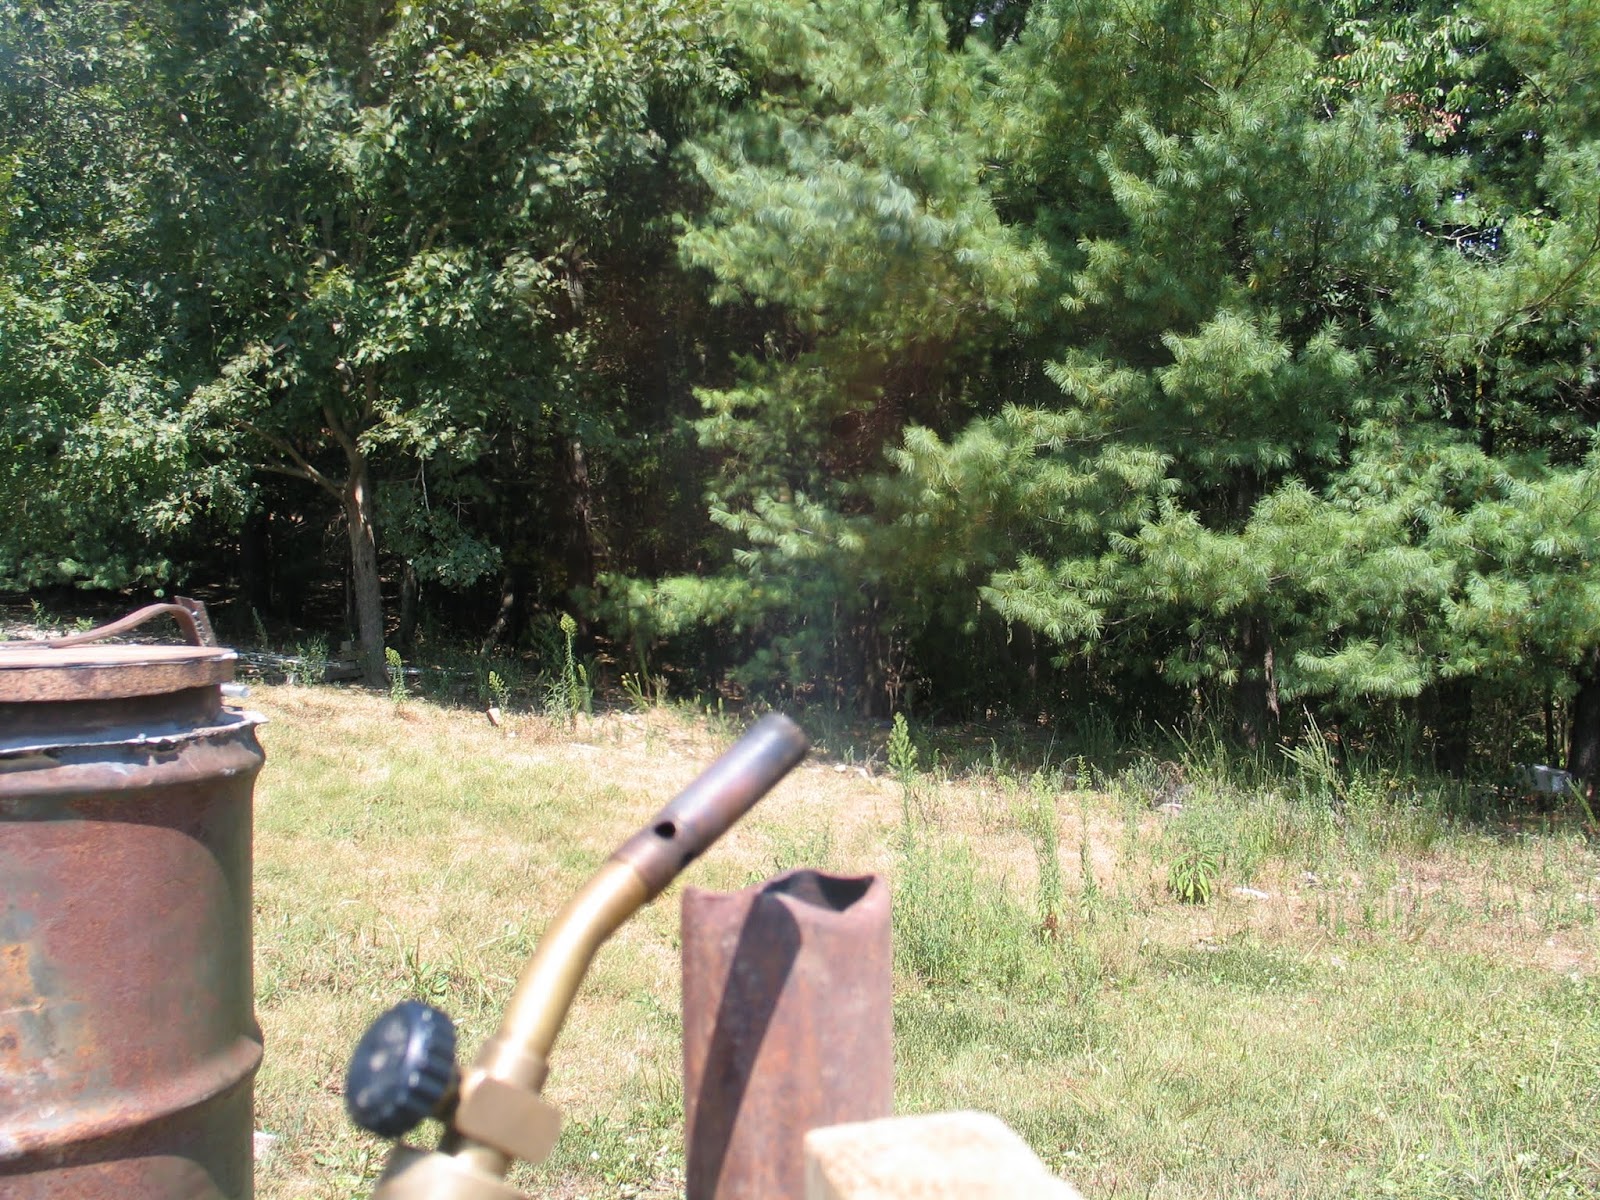

Success!

If you can't see the flame, don't feel bad. The flame is nearly invisible in the daylight. Mostly you see a lack of smoke, and some wavy hot air.  And hear a rumble of burning gas.  Eventually the flare wouldn't light, because the duct tape had melted and there was too much air leaking in. I patched it up and verified that the flare worked once more. I need a better temporary seal - duck tape supposedly melts at around 130 degrees.


I really wanted to see the invisible flame, so I waited until dusk, and fired it back up:


You can see the flame much better now. It is orange-yellow, with a blue tinge at the bottom. This indicates some tar in the gas, not a good thing. But I am running it without the restriction in place, which means the fire is not as concentrated as it should be. It will get a little better once I have things finished up.

I shut off the blower for a minute. The gas is still under internal pressure, making a slow flame:


The flare in the dark:


Here's a video I put together of the gasifier in action, with some footage in the dark. Toward the end, the flare is self sustaining:


Excited yet? I sure am. Just wait till I get an engine running on this!  It won't be long now...

Wednesday, August 24, 2011

Gasifier Update

OK, you've probably noticed the progress has slowed a bit. I intentionally took the week off last week from gasifier work, to get some other stuff done. And now I'm back at it. Here's what's up so far:

~ The title to the truck has been restored, and I can now buy it and drive it.
~ Stove rope gasket has arrived, more on that in a bit.
~ Brakes on the truck are being repaired. I had to order all new parts for the rear brakes, and new axle seals.
~ Bilge blower arrived. I will use this in the startup routine, probably to bring the gas through all the filters to the engine compartment.
~ New lid is in place. I started with a trash can lid, which was flimsy and didn't seal well.


I now have a lid made from steel plate, and sealed with the stove gasket rope.


The latch is spring loaded:


It seals well. I put it under pressure to check for leaks, and ran into a problem:


In case you can't see the video, the lid bounces. The pressure lifts the lid, escapes, and the spring bangs down the lid again, then it repeats, really fast. I managed to wire it shut tightly, and then the high pressure made a bunch of leaks show up. I test for leaks using soapy water, and this time there were plenty! So I have gone leak-hunting with GE Silicone, sealing up the cracks and hopefully stopping the major air leaks. Don't get it on your hands! Silicone does not wash off in water, and only a little better with hand cleaner. I didn't really know this, and I used my fingers to smear the silicone around...it gets sticky. When it dries it's slippery.

It won't be long before I am firing up the gasifier. And you can bet that I will document the process.

Friday, August 12, 2011

Charcoal

I made charcoal yesterday. Here's how I went about it:

All my projects start off with a search on the Internet. This one didn't take long; making charcoal is easy and well understood. Still, I hadn't done it before, and I picked up some interesting ideas.

Charcoal is really just "cooked wood". You can make charcoal two ways; cook it indirectly, in a closed vessel heated from the outside; or you can fire it directly, burning some of the charcoal to cook the rest of it. I opted for the second way, since it is simpler.

My wood is from the gasifier fuel supply. It has been processed into 2" cubes with a hatchet. Plenty of it around for charcoal making!

I have a good vessel already; the top half of a hot water heater, leftover from building the gasifier. I set it upright full of wood, and made some air inlets at the bottom. A little diesel fuel got things going. In no time at all, there was smoke pouring out the top:


I was worried that it was going too fast, and burning up all the charcoal. So I closed the chimney some:


And it promptly began distilling tar. Plus a good bit of moisture:


OK, so I need to let it burn some more. Opened the air valves, and let it go about an hour....then I shut it down, assuming I was done. After it cooled down, I tipped it over, and found a lot of tarry brown wood. Only a  little was charcoal. But as I was sorting through it all, the smoke started back up. I think the fire was trying to tell me something - It wasn't finished yet.  Patience is a virtue.

So once more I assembled the cooker, and smoke came pouring out. I let it go a long time, maybe two hours. Then I put some dirt around the base, to seal the air holes and slow the fire down, but I left the chimney open. The fire continued on, eventually slowing down after a couple more hours. Once I saw that it was nearly finished,  I closed off the vents again and left it for the night.


Here's what I found this morning:


Beautiful, well formed charcoal. There were still some unfinished pieces, I set them aside. I could have let it go even longer, and converted those too. All told, I got a heaping 5 gal bucket full:


So now I know how to make this. I think I could keep us supplied with some charcoal for the smoker and the gasifier. It's not hard - I could scale up to bigger batches quite easily. But for now I'll take it one bucket at a time.

Thursday, August 4, 2011

Cooling Rack - Part Four

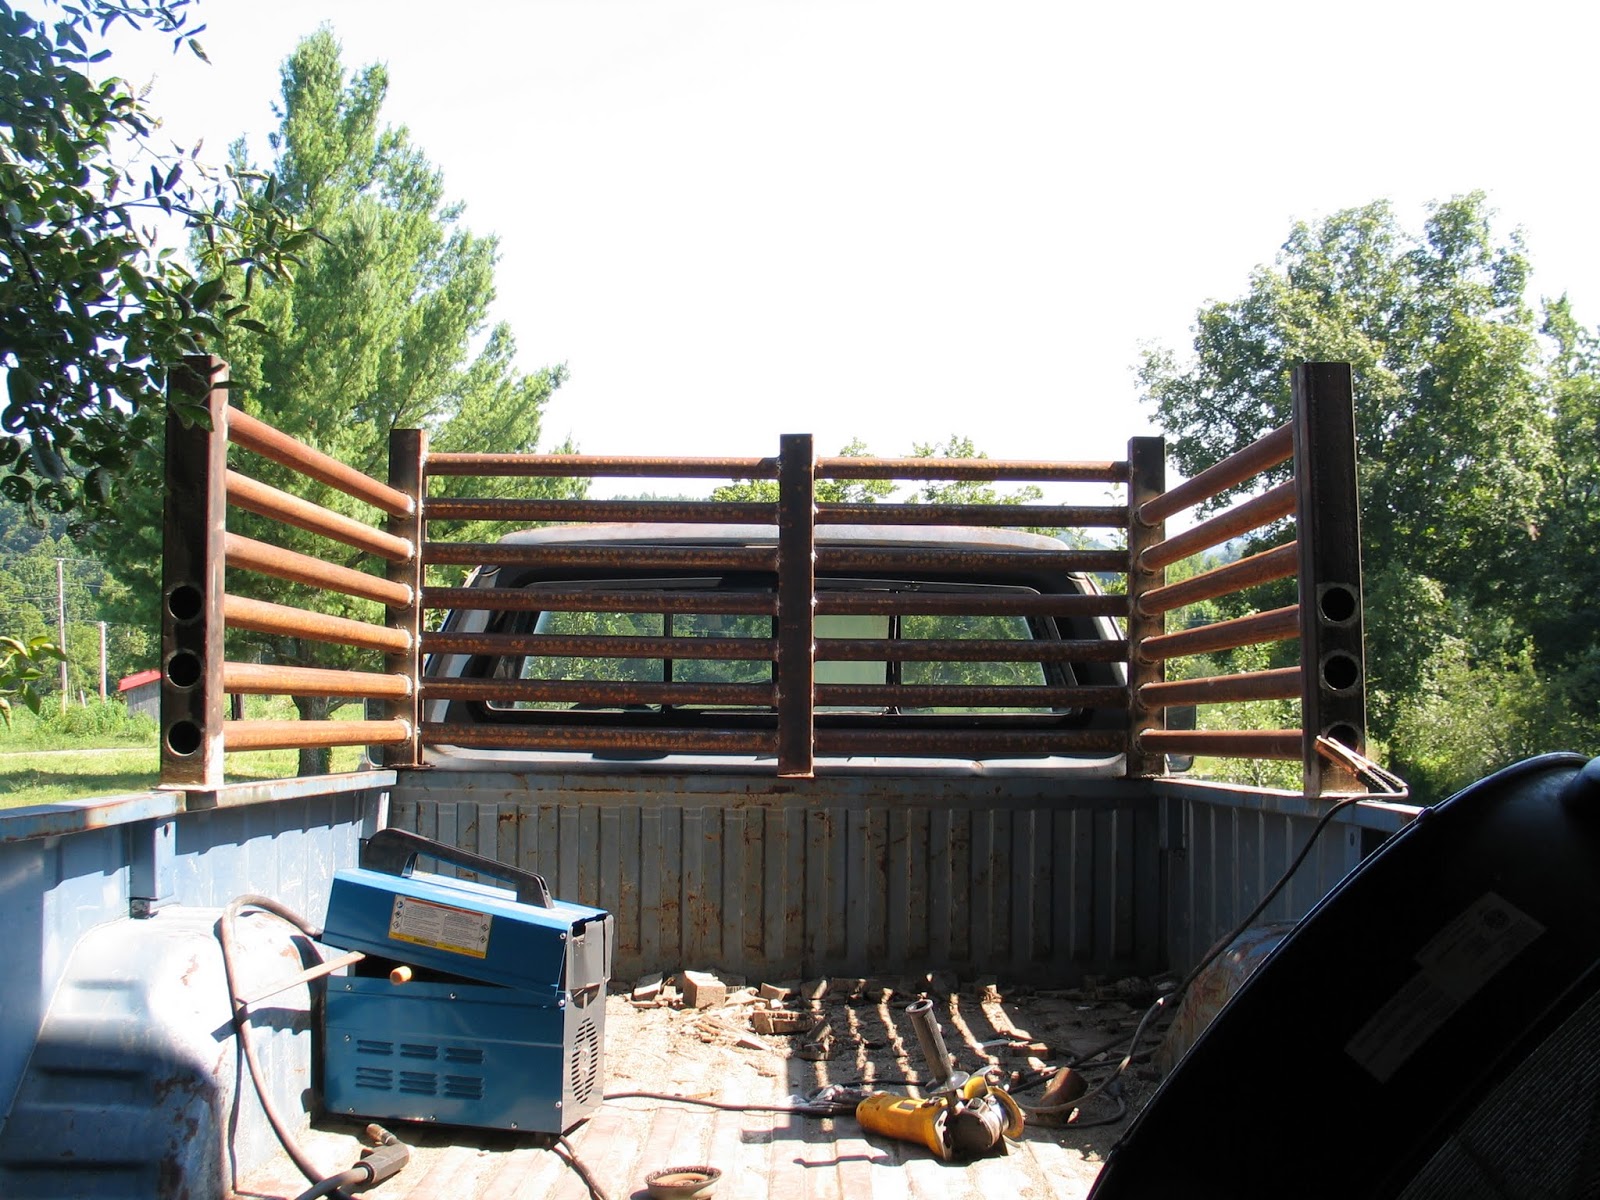
At long last... The rack is finished.  I finished the welding, bolted it down and gave it two coats of black paint.


The pictures are satisfying:


Next I will have to connect some of these pieces together, and add a few new ones. Plus I still have no caps for the posts... Gotta work on that.

Wednesday, August 3, 2011

Gasifier Update

Work on the cooling rack waits for some black paint (I just got some today). So in the meantime, I have lots of little odds and ends to take care of. Here are a few:

The ash has to be cleaned out somewhere. The easiest place is out the bottom; some of the woodgas guys have used ammo boxes extending below the bed, and so I decided to follow suit:


Welding on an ammo box is not easy ; the metal is very thin, and burns right through. So I covered my mistakes with some JB Industro Weld. Good stuff:


I also have to run "plumbing" for this thing. Every device has to be connected in an airtight fashion. So I am a plumber with a welder.... I have been plumbing with the same 20' gate pipe used in the cooling rack:


Here's the cyclone filter with an intake pipe:


Notice the double jointed bend. This is a little smoother, and so the gas should flow easier. It's only one extra weld to make. Same bend on the gas exiting the hearth, and a flange to aid disassembly later:


This long pipe will run to the starting blower. A tee off this line will go into the cyclone. Again, I will attempt to smooth the transition.

I went to Lowe's and bought some pipe caps:


No welding! Just screw them in.

Anyway, I have the paint now, and soon the rack will be back.....in black.

Monday, August 1, 2011

Cooling Rack - Part Three

Today I got the front left and right sections in. All the remaining pipe is the same length, so I cut 18 pipes, and cleaned the ends for welding. I also cleaned around the holes they go into:


Cleaning the pipes is easiest with a wire brush; I found a rather large one in a barn and have worn it to the nub. It also loves to eat shirt tails, beware!


It took a bit of tweaking to get the pipes where I wanted them; fortunately there's enough play in the system that I can "fudge" little mistakes.  Each upright has to be square, level to the truck, accept pipes coming at a slight angle, and still wind up on the edge of the bed.  I welded up one side at a time, here's both sides finished:


Now I could easily have finished welding the rack today. Here's a preview of what I have left to add:


But I need to address something else first - the paint.  I  can't paint the rack in place, I have to move it away from the window. So I'd better do that now while it only weighs 500 lbs. Ughh. I actually don't know what it weighs, maybe I can figure that out. So here is the rack with one coat of Rustoleum Rusty Metal Primer:


Yup, it's rust colored. I will be painting it black soon, don't worry. Again, the front has to be painted before the back is welded on, so that it fits on the truck bed while scooched back. But I like the way it looks now, at least it's not so rusty...just rust colored. A couple more views:


More as it comes!

Saturday, July 30, 2011

Cooling Rack - Part Two

I've been hard at it... I assembled the whole front section of the rack today. First I did the driver's side:


Then I added the other side. The middle post is off center on purpose; I want to retain use of the cargo light.


Close up of the corner. Notice the concrete I filled the bottom with. This displaces condensate which might collect there:


A few more views of the truck with the rack:


I have completed the tuyeres (air nozzles). This is where the combustion air enters the hearth. They are made from 3/8" pipe fittings - a short pipe nipple, a cap with a hole drilled, and a reducer that the nipple fits into. This way I can change the lengths and nozzle sizes very easily if I need to. I have to connect the seven of them with some sort of manifold. Probably will just be another ring welded onto the flange.


I welded the pipe fittings outside the hearth, and then cut them off nearly flush. This leaves room for the intake manifold: