Showing posts with label woodgas. Show all posts

Thursday, February 16, 2012

Woodgas proceedings

It's been way too long since I posted. And there are several good things happening that I need to write about! Sorry for the long silence, but things are moving fast and I am trying to keep up.

I think the last you heard from the woodgas project, I had gone to visit Wayne Keith in Alabama and studied his truck. I wanted to glean what I could and apply some of it to my own truck. Wayne was gracious enough to put me up for the night and give me a thorough tour of his trucks and his farm. While I was down there he mentioned that Mother Earth News had been pestering him for a set of plans, to go with their upcoming article on his woodgas truck in the spring. I told him that he really could do well to publish his stuff, it would help out the DIYers and get more Wayne-style trucks on the road. Then I headed home and started thinking about my truck and all the changes I was going to have to make, to be more like Wayne's trucks.

About a month later, I got a call from Wayne. After we talked a bit, he came down to business. He was ready to publish his plans, and he wanted my help. In particular, he needed a website with premium content, and a format for his plans to be sold in. I was surprised and pleased to get the call. I immediately accepted, and went to work on the website, and outlined a general plan of attack for Wayne.

So long story short, I am still working on the website two months later, and I will post a link to it soon. Wayne is busy building a new truck and carefully documenting all the parts of it with photos and video. He is going to be publishing his plans in paper form sometime this summer, but preorders will be available soon.

Meanwhile the woodgassers are thinking about spring, and when we should plan a meetup. I started gently nudging the members to get off the dime and decide when we are going to do this. As is often the case, the nudger gets the job for himself. So I am now the treasurer and contact person for the event, and have been coordinating some of the efforts involved. It's not a huge gathering, but there are around 20 folks coming to Argos IN on May 18-20th, and it will be open to the public on Saturday. As treasurer I have been getting a lot of checks in the mail.

So all that is perspective for what the UPS man brought to my door this morning:


One of the woodgassers, Brian Smith is also VP of Manufacturing at Goop! So he sent all this along with his contribution. Wow! That's a lot of hand cleaner....

Quick plug - I have to say, I do use a lot of hand cleaner (usually Fast Orange), as does anyone working on cars or welding steel. You get pretty grimy. I can't say as I have tried enough of them to tell a real difference. This one works at least as good as the Fast Orange I've been using. They advertise that it's effective on clothes too, which Fast Orange is not. There's original and orange-citrus. I tried some of both, and it works great. I guess I won't be buying any hand cleaner for a while... But when I do, it'll be Goop, because I might as well support a fellow woodgasser, and the product seems to work well. I'll let you know in six months how the supply is holding out!

So in all the shuffle, what happened to my truck?

The short answer is I have been too busy to do anything with it. I haven't touched it since I got back from Wayne's in December. BUT! I am about to start back on it again. I am actually going to drive it down to Alabama, on gasoline. Wayne and I will work on both his new truck and my truck, getting them both finished in time for the woodgas meet. I'd like to drive home on woodgas. So I want to have as much ready as possible before that happens. So I will be working on little things to get ready and make the time down there as productive as possible. I will be posting regular updates once I get back to work on the truck.

So, that's enough for today. It's still not everything I've been doing - just the highlights.

Till next time!


Wednesday, August 31, 2011

Woodgas Flare!

After months of work, the gasifier is actually making woodgas today...I have plugged all of the leaks - a tedious process involving soapy water, a shopvac blower, and silicone goop. But it paid off today! I duck-taped up a temporary blower on a stand:


 I filled the gasifier up with charcoal, ashes and wood. Sort of a pre-fab woodgas ecosystem.

Lit the charcoal, closed the lid and ran the blower:


Wait and wait. Check the temporary seals for leaks. Wait some more. The smoke got thicker and thicker, and I tried lighting it:


Success!

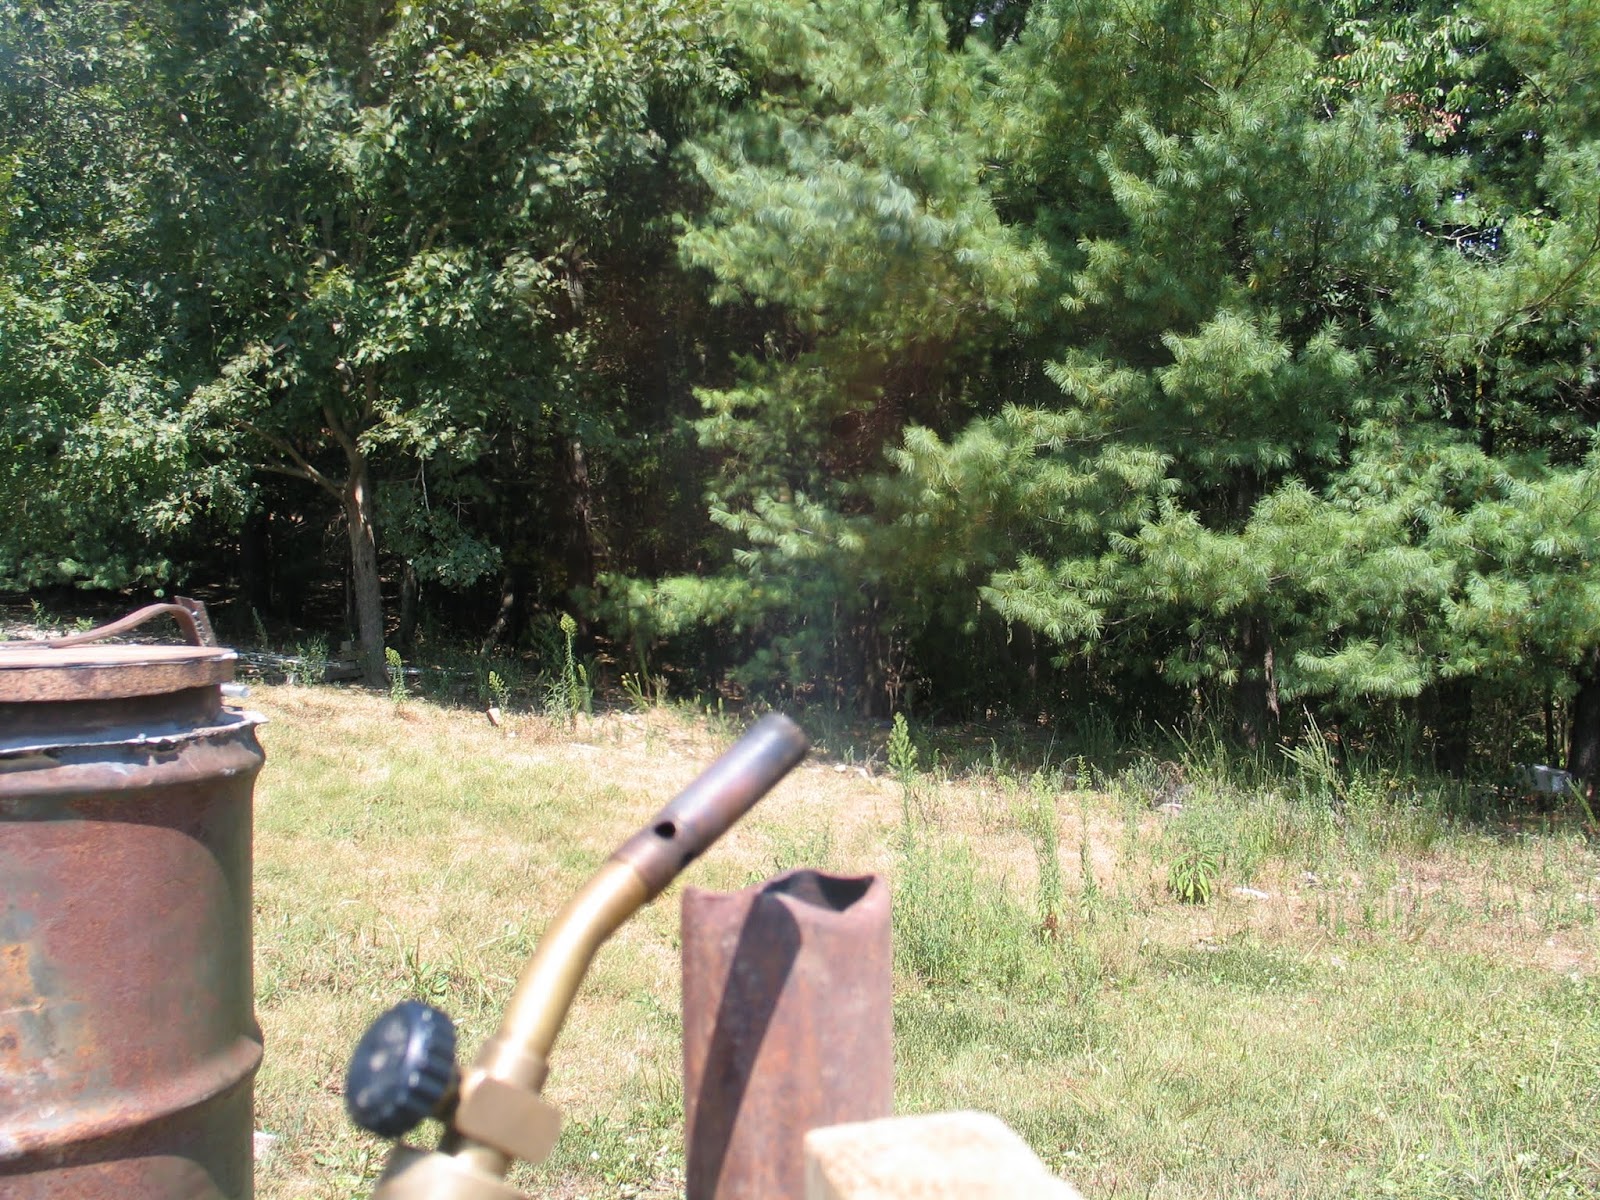
If you can't see the flame, don't feel bad. The flame is nearly invisible in the daylight. Mostly you see a lack of smoke, and some wavy hot air.  And hear a rumble of burning gas.  Eventually the flare wouldn't light, because the duct tape had melted and there was too much air leaking in. I patched it up and verified that the flare worked once more. I need a better temporary seal - duck tape supposedly melts at around 130 degrees.


I really wanted to see the invisible flame, so I waited until dusk, and fired it back up:


You can see the flame much better now. It is orange-yellow, with a blue tinge at the bottom. This indicates some tar in the gas, not a good thing. But I am running it without the restriction in place, which means the fire is not as concentrated as it should be. It will get a little better once I have things finished up.

I shut off the blower for a minute. The gas is still under internal pressure, making a slow flame:


The flare in the dark:


Here's a video I put together of the gasifier in action, with some footage in the dark. Toward the end, the flare is self sustaining:


Excited yet? I sure am. Just wait till I get an engine running on this!  It won't be long now...

Wednesday, August 24, 2011

Gasifier Update

OK, you've probably noticed the progress has slowed a bit. I intentionally took the week off last week from gasifier work, to get some other stuff done. And now I'm back at it. Here's what's up so far:

~ The title to the truck has been restored, and I can now buy it and drive it.
~ Stove rope gasket has arrived, more on that in a bit.
~ Brakes on the truck are being repaired. I had to order all new parts for the rear brakes, and new axle seals.
~ Bilge blower arrived. I will use this in the startup routine, probably to bring the gas through all the filters to the engine compartment.
~ New lid is in place. I started with a trash can lid, which was flimsy and didn't seal well.


I now have a lid made from steel plate, and sealed with the stove gasket rope.


The latch is spring loaded:


It seals well. I put it under pressure to check for leaks, and ran into a problem:


In case you can't see the video, the lid bounces. The pressure lifts the lid, escapes, and the spring bangs down the lid again, then it repeats, really fast. I managed to wire it shut tightly, and then the high pressure made a bunch of leaks show up. I test for leaks using soapy water, and this time there were plenty! So I have gone leak-hunting with GE Silicone, sealing up the cracks and hopefully stopping the major air leaks. Don't get it on your hands! Silicone does not wash off in water, and only a little better with hand cleaner. I didn't really know this, and I used my fingers to smear the silicone around...it gets sticky. When it dries it's slippery.

It won't be long before I am firing up the gasifier. And you can bet that I will document the process.

Wednesday, August 10, 2011

Leak Hunting

I am at the stage in my gasifier build that is almost frustrating. I am very close to being able to make woodgas, but I have a thousand little details to finish up first. Let me be clear, this is not "about to run the truck" time. I have a ways to go yet. But I should be able to produce flammable gas with what I have, before everything is hooked up. I have to be able to do this to start the truck. A blower sucks air across the bed of coals, and heats them up. Once they are hot enough to produce gas, the truck may be started.

So I have to get the thing sealed up, tie up my loose ends. Sealing the leaks is very important, and very tedious. Here's what I rigged up to pressurize the cooling rack, so I can feel the leaking air:


The back end of the shop vac, hooked to one of the downspouts. I sealed off the post tops with duct tape, see the little silver domes?

Here's a video:


There were a few leaks, small ones. I don't have any RTV sealant yet. But I have this:


Yup. Don't laugh, it works pretty good. It's sticky and black, and when dry it's fairly tough.

Here it is applied:


Hard to see, but it's on both welds, top and bottom. Blends right in!

I have some other good sealing stuff, for removable parts:


Fiberglass rope, for stove doors. I glued it up with silicone:


It wraps around the joint where the hopper meets the hearth. Like this:


I also have to make a downspout for the monorator hopper. If I am brilliant enough, I can make this serve three purposes: A water column (manometer), a sealed drip leg for the condensate, and a safety valve.

All it is really? A pipe straight down from here:


I need an open ended tube, submerged in a container of water. As long as the vacuum doesn't overcome the 29"  water column, I am fine.

So I came up with this:


 Very small CPVC pipe with slot cut for "sight glass" - then wrapped in clear packing tape.


The other end, which has to fit the 2" pipe seen above. Kinda clunky, I admit. Gluing PVC to CPVC? It may not be sturdy enough.


The downspout so far. We'll see how it does. Again, I'm trying to stay under 29" of water column. To get a sense of vacuum power, I made a little test, and took video of it.


I also have to finish up the cyclone once I get ahold of some Hi-temp RTV. But for now, here's an interesting demo of the very fast spinning air:


Thursday, August 4, 2011

Cooling Rack - Part Four

At long last... The rack is finished.  I finished the welding, bolted it down and gave it two coats of black paint.


The pictures are satisfying:


Next I will have to connect some of these pieces together, and add a few new ones. Plus I still have no caps for the posts... Gotta work on that.

Wednesday, August 3, 2011

Gasifier Update

Work on the cooling rack waits for some black paint (I just got some today). So in the meantime, I have lots of little odds and ends to take care of. Here are a few:

The ash has to be cleaned out somewhere. The easiest place is out the bottom; some of the woodgas guys have used ammo boxes extending below the bed, and so I decided to follow suit:


Welding on an ammo box is not easy ; the metal is very thin, and burns right through. So I covered my mistakes with some JB Industro Weld. Good stuff:


I also have to run "plumbing" for this thing. Every device has to be connected in an airtight fashion. So I am a plumber with a welder.... I have been plumbing with the same 20' gate pipe used in the cooling rack:


Here's the cyclone filter with an intake pipe:


Notice the double jointed bend. This is a little smoother, and so the gas should flow easier. It's only one extra weld to make. Same bend on the gas exiting the hearth, and a flange to aid disassembly later:


This long pipe will run to the starting blower. A tee off this line will go into the cyclone. Again, I will attempt to smooth the transition.

I went to Lowe's and bought some pipe caps:


No welding! Just screw them in.

Anyway, I have the paint now, and soon the rack will be back.....in black.

Monday, August 1, 2011

Cooling Rack - Part Three

Today I got the front left and right sections in. All the remaining pipe is the same length, so I cut 18 pipes, and cleaned the ends for welding. I also cleaned around the holes they go into:


Cleaning the pipes is easiest with a wire brush; I found a rather large one in a barn and have worn it to the nub. It also loves to eat shirt tails, beware!


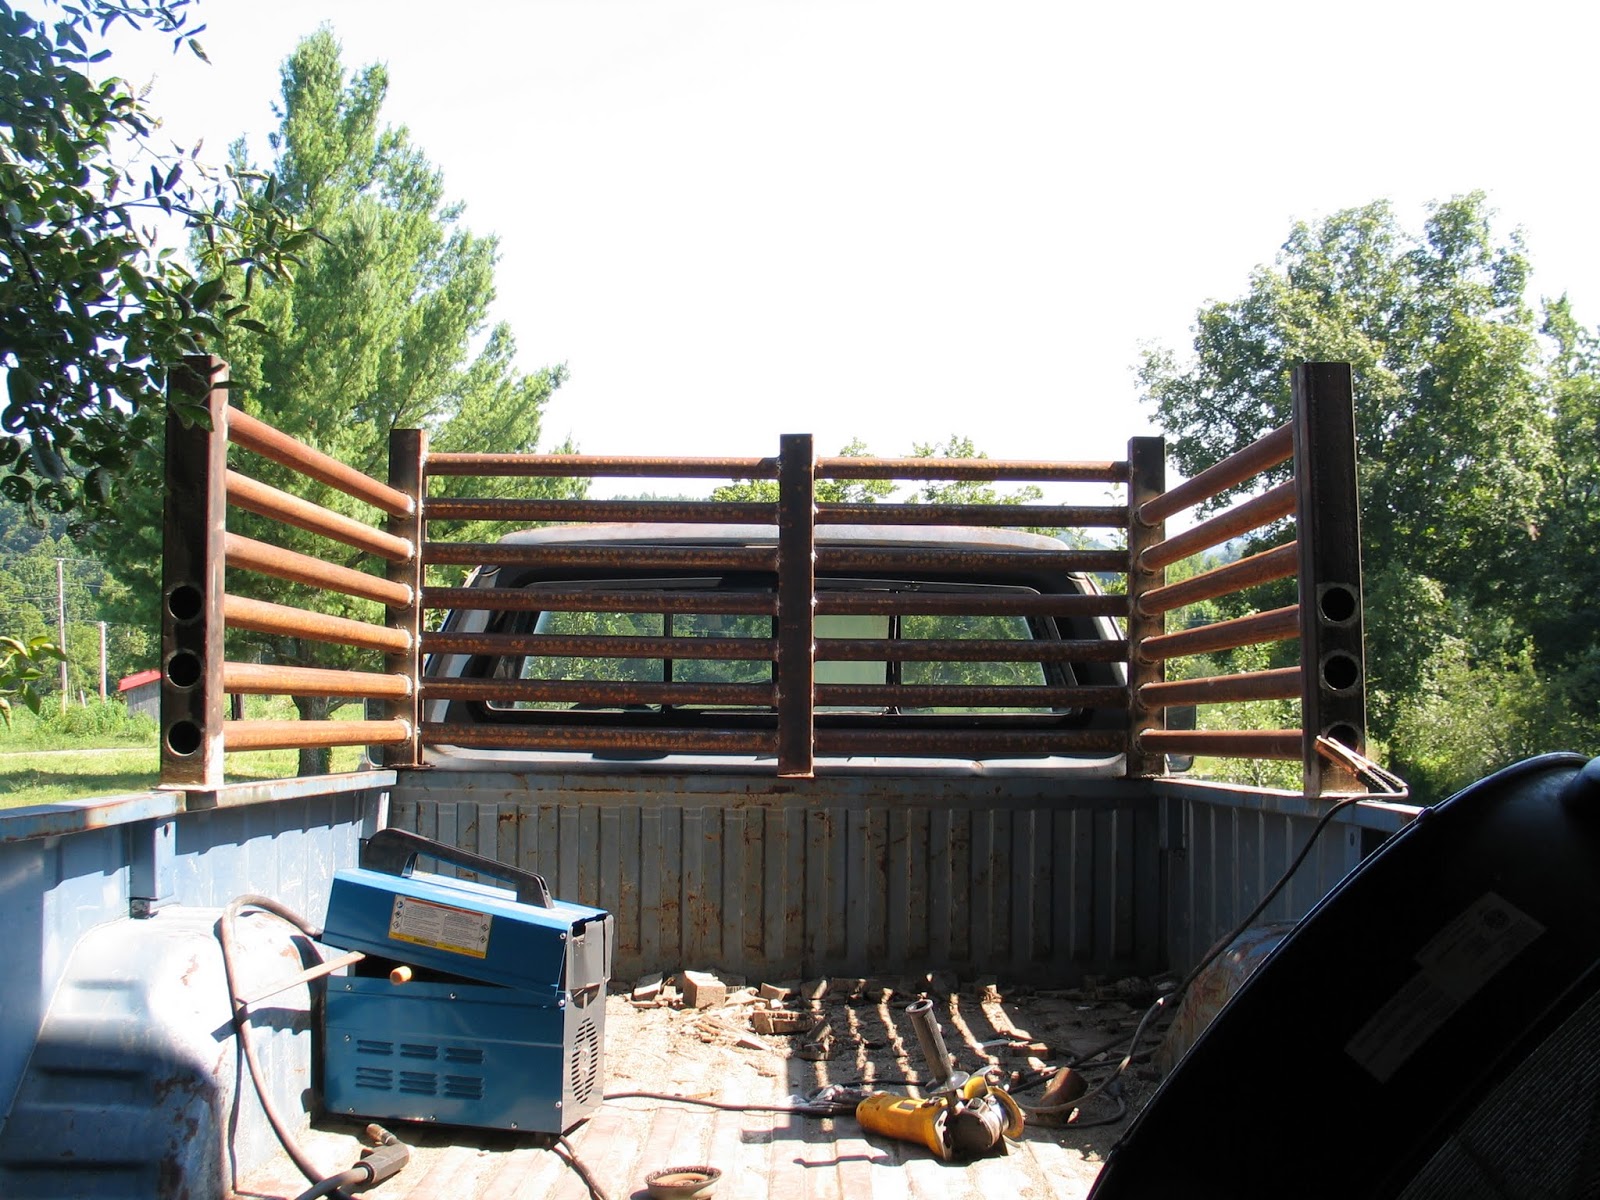
It took a bit of tweaking to get the pipes where I wanted them; fortunately there's enough play in the system that I can "fudge" little mistakes.  Each upright has to be square, level to the truck, accept pipes coming at a slight angle, and still wind up on the edge of the bed.  I welded up one side at a time, here's both sides finished:


Now I could easily have finished welding the rack today. Here's a preview of what I have left to add:


But I need to address something else first - the paint.  I  can't paint the rack in place, I have to move it away from the window. So I'd better do that now while it only weighs 500 lbs. Ughh. I actually don't know what it weighs, maybe I can figure that out. So here is the rack with one coat of Rustoleum Rusty Metal Primer:


Yup, it's rust colored. I will be painting it black soon, don't worry. Again, the front has to be painted before the back is welded on, so that it fits on the truck bed while scooched back. But I like the way it looks now, at least it's not so rusty...just rust colored. A couple more views:


More as it comes!

Saturday, July 30, 2011

Cooling Rack - Part Two

I've been hard at it... I assembled the whole front section of the rack today. First I did the driver's side:


Then I added the other side. The middle post is off center on purpose; I want to retain use of the cargo light.


Close up of the corner. Notice the concrete I filled the bottom with. This displaces condensate which might collect there:


A few more views of the truck with the rack:


I have completed the tuyeres (air nozzles). This is where the combustion air enters the hearth. They are made from 3/8" pipe fittings - a short pipe nipple, a cap with a hole drilled, and a reducer that the nipple fits into. This way I can change the lengths and nozzle sizes very easily if I need to. I have to connect the seven of them with some sort of manifold. Probably will just be another ring welded onto the flange.


I welded the pipe fittings outside the hearth, and then cut them off nearly flush. This leaves room for the intake manifold: