After getting the tires replaced on the 1998 Honda Odyssey, the service man mentioned that the CV joints were clicking, particularly on acceleration, and would we like to set up an appointment to get them replaced? After politely declining, we headed home, listening for the clicking he had heard. I didn't hear any noise, but I had noticed the "clunk" when shifting into drive, as the transmission took up the slack in the loose joints.
So I Googled CV Joints, and it turns out they are only $50 each from RockAuto. They arrived shortly before Christmas, in the middle of a snowstorm, so I waited until yesterday to install them.
Having never done them before, I got an impromptu tour of the internet how-tos on CV joint replacement...... Pretty slim pickings. Notes I made:
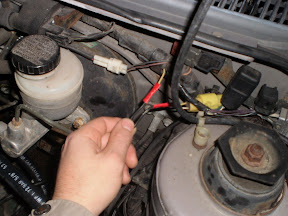
- Rent a 36mm axle nut socket from AutoZone. You also need a breaker bar if you don’t have one.
- Loosen the lugs and the axle nut while the wheel is on the ground providing resistance.
- You need a new axle nut for each side, also called a stake nut. Don’t buy them separately if they came on the new CV joints......
- You need a Pitman arm puller, about $12 at AZ.
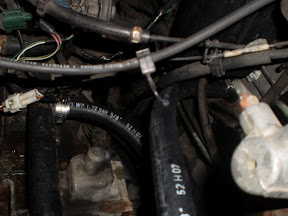
- No matter what the internet guides say, DO NOT PULL on the CV to get it out. It probably won’t work, and it ruins the CV joint, in case you had removed it for other reasons.
- Get under there and PRY it out of the tranny. One side was easy, the other incredibly hard.
- If you hear a scraping noise on the test drive, it just might be that brake rotor shield you pulled on so hard when you were moving it out of your way.
- Salty ice-slush dripping from under a dirty car on your face is not very nice.
On top of all that, one of the brand new tires suddenly went ‘whoosh’ – there was apparently a sidewall defect, and it separated. This while the car was being repaired...... So a quick 50 mile round trip to the tire shop, luckily it was warranted for a free replacement. Back home, all together again, and today I washed all the salt off.
The adventure continues....

 -
- 

 -
-