Wednesday, August 31, 2011

Woodgas Flare!

After months of work, the gasifier is actually making woodgas today...I have plugged all of the leaks - a tedious process involving soapy water, a shopvac blower, and silicone goop. But it paid off today! I duck-taped up a temporary blower on a stand:


 I filled the gasifier up with charcoal, ashes and wood. Sort of a pre-fab woodgas ecosystem.

Lit the charcoal, closed the lid and ran the blower:


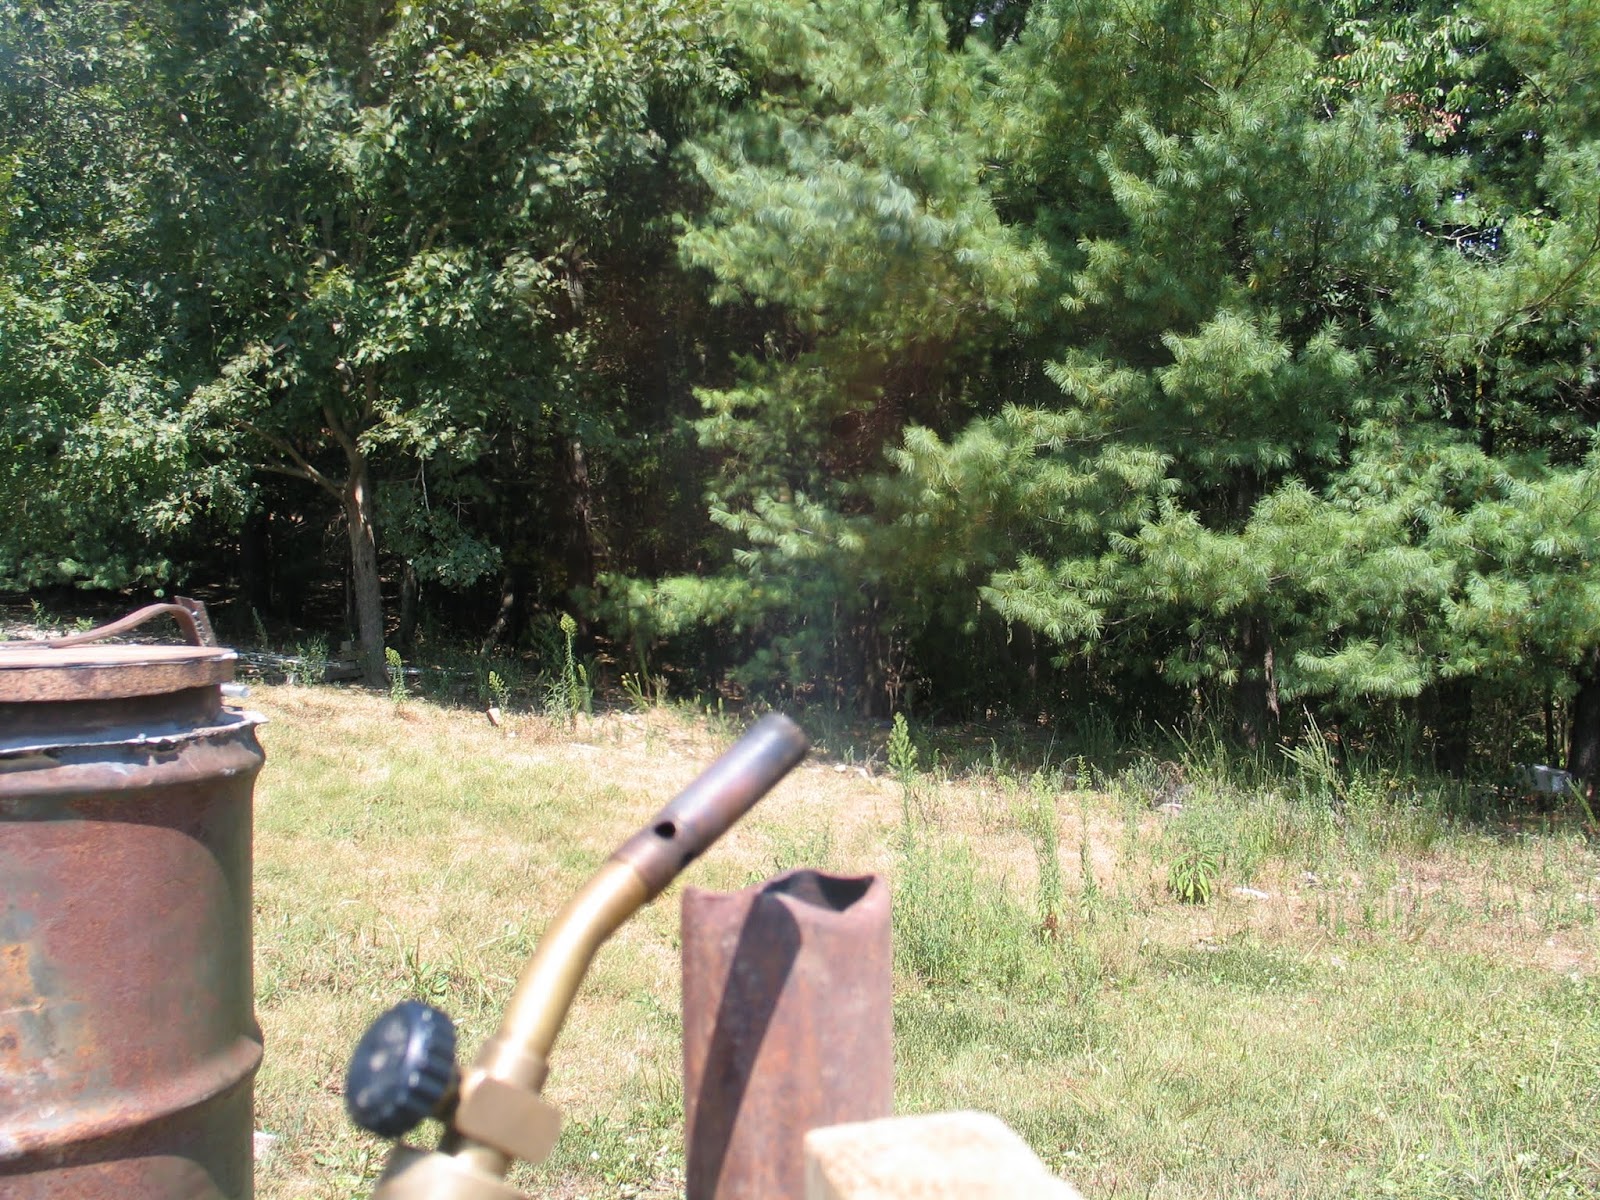
Wait and wait. Check the temporary seals for leaks. Wait some more. The smoke got thicker and thicker, and I tried lighting it:


Success!

If you can't see the flame, don't feel bad. The flame is nearly invisible in the daylight. Mostly you see a lack of smoke, and some wavy hot air.  And hear a rumble of burning gas.  Eventually the flare wouldn't light, because the duct tape had melted and there was too much air leaking in. I patched it up and verified that the flare worked once more. I need a better temporary seal - duck tape supposedly melts at around 130 degrees.


I really wanted to see the invisible flame, so I waited until dusk, and fired it back up:


You can see the flame much better now. It is orange-yellow, with a blue tinge at the bottom. This indicates some tar in the gas, not a good thing. But I am running it without the restriction in place, which means the fire is not as concentrated as it should be. It will get a little better once I have things finished up.

I shut off the blower for a minute. The gas is still under internal pressure, making a slow flame:


The flare in the dark:


Here's a video I put together of the gasifier in action, with some footage in the dark. Toward the end, the flare is self sustaining:


Excited yet? I sure am. Just wait till I get an engine running on this!  It won't be long now...

Wednesday, August 24, 2011

Gasifier Update

OK, you've probably noticed the progress has slowed a bit. I intentionally took the week off last week from gasifier work, to get some other stuff done. And now I'm back at it. Here's what's up so far:

~ The title to the truck has been restored, and I can now buy it and drive it.
~ Stove rope gasket has arrived, more on that in a bit.
~ Brakes on the truck are being repaired. I had to order all new parts for the rear brakes, and new axle seals.
~ Bilge blower arrived. I will use this in the startup routine, probably to bring the gas through all the filters to the engine compartment.
~ New lid is in place. I started with a trash can lid, which was flimsy and didn't seal well.


I now have a lid made from steel plate, and sealed with the stove gasket rope.


The latch is spring loaded:


It seals well. I put it under pressure to check for leaks, and ran into a problem:


In case you can't see the video, the lid bounces. The pressure lifts the lid, escapes, and the spring bangs down the lid again, then it repeats, really fast. I managed to wire it shut tightly, and then the high pressure made a bunch of leaks show up. I test for leaks using soapy water, and this time there were plenty! So I have gone leak-hunting with GE Silicone, sealing up the cracks and hopefully stopping the major air leaks. Don't get it on your hands! Silicone does not wash off in water, and only a little better with hand cleaner. I didn't really know this, and I used my fingers to smear the silicone around...it gets sticky. When it dries it's slippery.

It won't be long before I am firing up the gasifier. And you can bet that I will document the process.

Friday, August 19, 2011

Smoked Brisket

Every now and then I get to contribute to the supper table; one of my favorite jobs is smoking brisket.


Here's how it works.


Start with a cow.


OK, let's skip ahead a little - meat is in the kitchen, night before:  Rub the meat with BBQ dry rub, all over both sides.


The rub I used is from the Grassfed Gourmet cookbook (recipe below).


Now the meat gets covered in plastic and put back in the fridge overnight.


Meanwhile, start some wood chips soaking. I filled it at the bathtub:


So the next morning, it's time to light the smoker up. I use a charcoal chimney, and homemade charcoal.


If there's no breeze, make one:


Soon enough, there's some smoke:


Add the coals to the firepan, and some of the wet wood. Fill the water-pan, and put the meat on the racks. Here's the redneck approved water-pan filler - not screwed together, just duck taped:


The tip fits between the bars of the meat rack, so I can fill it through the little door.


See the fire down there? One rack sits directly on the water pan, the other is right under the lid.


We're smokin'.


 Now the long part: Tend and wait. Not too much tending, but keep a close eye on it. Especially the temp gauge. It should stay on the low side of "ideal":


I decided to make some more charcoal, while I was stinking up the place. Note the difference in the smoke:


 The charcoal maker is producing some woodgas, along with normal blue smoke.

Elizabeth agreed to keep an eye on things for a minute.


The temps got a little higher than I wanted, and so I decided to check the meat with a thermometer.


Ack! Already at 152 degrees, and it's only 2pm. I found out later that the meat should have gone a bit longer, it was a bit underdone in the middle. Lower temps for longer are much better.

The first lift of the lid:


Yummy.....


Meat on the pan - it shrunk!


And covered in foil to keep warm till supper:


Hours later.  Finally time to slice into it:


Yummy.......


One brisket went into the freezer, and we ate the other one. It went so fast, I forgot to get a picture of it. You can imagine, it was good eating. Serve with Stubbs' barbecue sauce and garlic potatoes.


BBQ Rib Rub:


1c chili powder
1/4c sugar
1/3c coarse salt
1/3c black pepper
1/4c paprika
1/4c oregano


Combine all ingredients in quart jar, shake to mix. Apply liberally to meat before cooking.

Friday, August 12, 2011

Charcoal

I made charcoal yesterday. Here's how I went about it:

All my projects start off with a search on the Internet. This one didn't take long; making charcoal is easy and well understood. Still, I hadn't done it before, and I picked up some interesting ideas.

Charcoal is really just "cooked wood". You can make charcoal two ways; cook it indirectly, in a closed vessel heated from the outside; or you can fire it directly, burning some of the charcoal to cook the rest of it. I opted for the second way, since it is simpler.

My wood is from the gasifier fuel supply. It has been processed into 2" cubes with a hatchet. Plenty of it around for charcoal making!

I have a good vessel already; the top half of a hot water heater, leftover from building the gasifier. I set it upright full of wood, and made some air inlets at the bottom. A little diesel fuel got things going. In no time at all, there was smoke pouring out the top:


I was worried that it was going too fast, and burning up all the charcoal. So I closed the chimney some:


And it promptly began distilling tar. Plus a good bit of moisture:


OK, so I need to let it burn some more. Opened the air valves, and let it go about an hour....then I shut it down, assuming I was done. After it cooled down, I tipped it over, and found a lot of tarry brown wood. Only a  little was charcoal. But as I was sorting through it all, the smoke started back up. I think the fire was trying to tell me something - It wasn't finished yet.  Patience is a virtue.

So once more I assembled the cooker, and smoke came pouring out. I let it go a long time, maybe two hours. Then I put some dirt around the base, to seal the air holes and slow the fire down, but I left the chimney open. The fire continued on, eventually slowing down after a couple more hours. Once I saw that it was nearly finished,  I closed off the vents again and left it for the night.


Here's what I found this morning:


Beautiful, well formed charcoal. There were still some unfinished pieces, I set them aside. I could have let it go even longer, and converted those too. All told, I got a heaping 5 gal bucket full:


So now I know how to make this. I think I could keep us supplied with some charcoal for the smoker and the gasifier. It's not hard - I could scale up to bigger batches quite easily. But for now I'll take it one bucket at a time.

Wednesday, August 10, 2011

Leak Hunting

I am at the stage in my gasifier build that is almost frustrating. I am very close to being able to make woodgas, but I have a thousand little details to finish up first. Let me be clear, this is not "about to run the truck" time. I have a ways to go yet. But I should be able to produce flammable gas with what I have, before everything is hooked up. I have to be able to do this to start the truck. A blower sucks air across the bed of coals, and heats them up. Once they are hot enough to produce gas, the truck may be started.

So I have to get the thing sealed up, tie up my loose ends. Sealing the leaks is very important, and very tedious. Here's what I rigged up to pressurize the cooling rack, so I can feel the leaking air:


The back end of the shop vac, hooked to one of the downspouts. I sealed off the post tops with duct tape, see the little silver domes?

Here's a video:


There were a few leaks, small ones. I don't have any RTV sealant yet. But I have this:


Yup. Don't laugh, it works pretty good. It's sticky and black, and when dry it's fairly tough.

Here it is applied:


Hard to see, but it's on both welds, top and bottom. Blends right in!

I have some other good sealing stuff, for removable parts:


Fiberglass rope, for stove doors. I glued it up with silicone:


It wraps around the joint where the hopper meets the hearth. Like this:


I also have to make a downspout for the monorator hopper. If I am brilliant enough, I can make this serve three purposes: A water column (manometer), a sealed drip leg for the condensate, and a safety valve.

All it is really? A pipe straight down from here:


I need an open ended tube, submerged in a container of water. As long as the vacuum doesn't overcome the 29"  water column, I am fine.

So I came up with this:


 Very small CPVC pipe with slot cut for "sight glass" - then wrapped in clear packing tape.


The other end, which has to fit the 2" pipe seen above. Kinda clunky, I admit. Gluing PVC to CPVC? It may not be sturdy enough.


The downspout so far. We'll see how it does. Again, I'm trying to stay under 29" of water column. To get a sense of vacuum power, I made a little test, and took video of it.


I also have to finish up the cyclone once I get ahold of some Hi-temp RTV. But for now, here's an interesting demo of the very fast spinning air: