Showing posts with label truck. Show all posts

Wednesday, August 10, 2011

Leak Hunting

I am at the stage in my gasifier build that is almost frustrating. I am very close to being able to make woodgas, but I have a thousand little details to finish up first. Let me be clear, this is not "about to run the truck" time. I have a ways to go yet. But I should be able to produce flammable gas with what I have, before everything is hooked up. I have to be able to do this to start the truck. A blower sucks air across the bed of coals, and heats them up. Once they are hot enough to produce gas, the truck may be started.

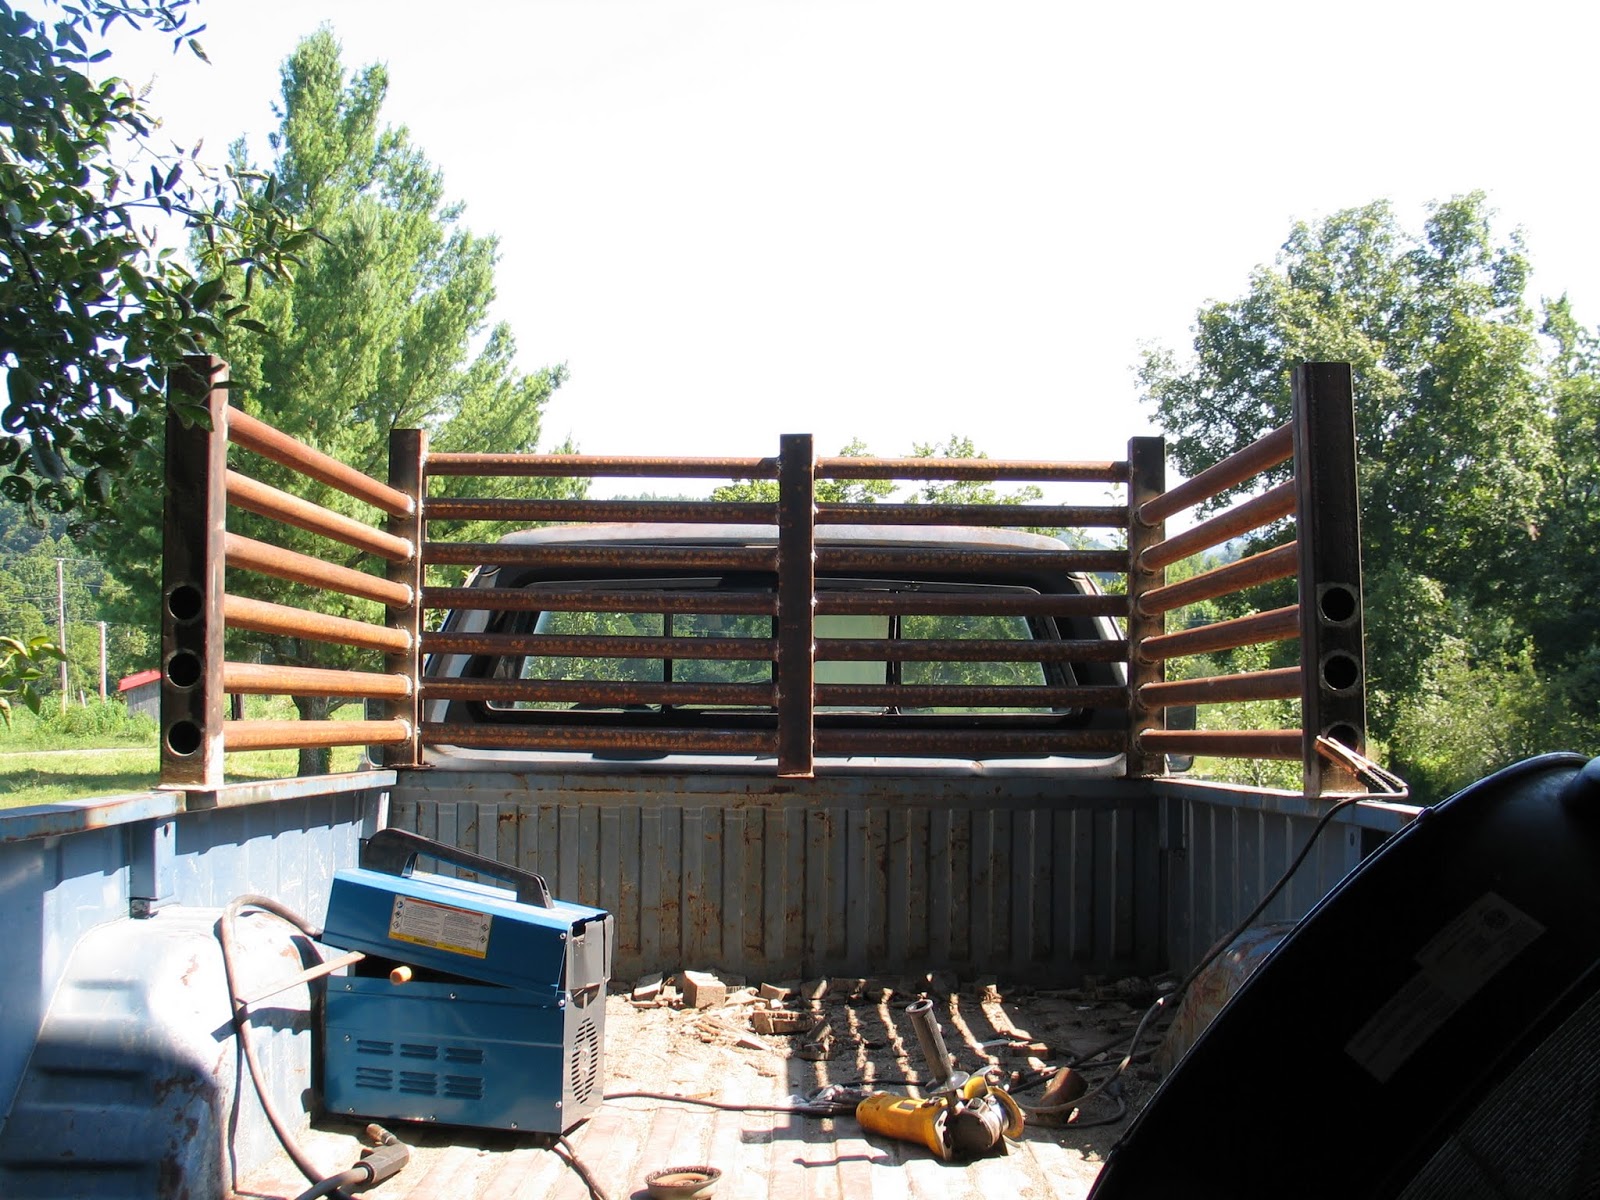
So I have to get the thing sealed up, tie up my loose ends. Sealing the leaks is very important, and very tedious. Here's what I rigged up to pressurize the cooling rack, so I can feel the leaking air:


The back end of the shop vac, hooked to one of the downspouts. I sealed off the post tops with duct tape, see the little silver domes?

Here's a video:


There were a few leaks, small ones. I don't have any RTV sealant yet. But I have this:


Yup. Don't laugh, it works pretty good. It's sticky and black, and when dry it's fairly tough.

Here it is applied:


Hard to see, but it's on both welds, top and bottom. Blends right in!

I have some other good sealing stuff, for removable parts:


Fiberglass rope, for stove doors. I glued it up with silicone:


It wraps around the joint where the hopper meets the hearth. Like this:


I also have to make a downspout for the monorator hopper. If I am brilliant enough, I can make this serve three purposes: A water column (manometer), a sealed drip leg for the condensate, and a safety valve.

All it is really? A pipe straight down from here:


I need an open ended tube, submerged in a container of water. As long as the vacuum doesn't overcome the 29"  water column, I am fine.

So I came up with this:


 Very small CPVC pipe with slot cut for "sight glass" - then wrapped in clear packing tape.


The other end, which has to fit the 2" pipe seen above. Kinda clunky, I admit. Gluing PVC to CPVC? It may not be sturdy enough.


The downspout so far. We'll see how it does. Again, I'm trying to stay under 29" of water column. To get a sense of vacuum power, I made a little test, and took video of it.


I also have to finish up the cyclone once I get ahold of some Hi-temp RTV. But for now, here's an interesting demo of the very fast spinning air:


Thursday, August 4, 2011

Cooling Rack - Part Four

At long last... The rack is finished.  I finished the welding, bolted it down and gave it two coats of black paint.


The pictures are satisfying:


Next I will have to connect some of these pieces together, and add a few new ones. Plus I still have no caps for the posts... Gotta work on that.

Wednesday, August 3, 2011

Gasifier Update

Work on the cooling rack waits for some black paint (I just got some today). So in the meantime, I have lots of little odds and ends to take care of. Here are a few:

The ash has to be cleaned out somewhere. The easiest place is out the bottom; some of the woodgas guys have used ammo boxes extending below the bed, and so I decided to follow suit:


Welding on an ammo box is not easy ; the metal is very thin, and burns right through. So I covered my mistakes with some JB Industro Weld. Good stuff:


I also have to run "plumbing" for this thing. Every device has to be connected in an airtight fashion. So I am a plumber with a welder.... I have been plumbing with the same 20' gate pipe used in the cooling rack:


Here's the cyclone filter with an intake pipe:


Notice the double jointed bend. This is a little smoother, and so the gas should flow easier. It's only one extra weld to make. Same bend on the gas exiting the hearth, and a flange to aid disassembly later:


This long pipe will run to the starting blower. A tee off this line will go into the cyclone. Again, I will attempt to smooth the transition.

I went to Lowe's and bought some pipe caps:


No welding! Just screw them in.

Anyway, I have the paint now, and soon the rack will be back.....in black.

Monday, August 1, 2011

Cooling Rack - Part Three

Today I got the front left and right sections in. All the remaining pipe is the same length, so I cut 18 pipes, and cleaned the ends for welding. I also cleaned around the holes they go into:


Cleaning the pipes is easiest with a wire brush; I found a rather large one in a barn and have worn it to the nub. It also loves to eat shirt tails, beware!


It took a bit of tweaking to get the pipes where I wanted them; fortunately there's enough play in the system that I can "fudge" little mistakes.  Each upright has to be square, level to the truck, accept pipes coming at a slight angle, and still wind up on the edge of the bed.  I welded up one side at a time, here's both sides finished:


Now I could easily have finished welding the rack today. Here's a preview of what I have left to add:


But I need to address something else first - the paint.  I  can't paint the rack in place, I have to move it away from the window. So I'd better do that now while it only weighs 500 lbs. Ughh. I actually don't know what it weighs, maybe I can figure that out. So here is the rack with one coat of Rustoleum Rusty Metal Primer:


Yup, it's rust colored. I will be painting it black soon, don't worry. Again, the front has to be painted before the back is welded on, so that it fits on the truck bed while scooched back. But I like the way it looks now, at least it's not so rusty...just rust colored. A couple more views:


More as it comes!

Saturday, July 30, 2011

Cooling Rack - Part Two

I've been hard at it... I assembled the whole front section of the rack today. First I did the driver's side:


Then I added the other side. The middle post is off center on purpose; I want to retain use of the cargo light.


Close up of the corner. Notice the concrete I filled the bottom with. This displaces condensate which might collect there:


A few more views of the truck with the rack:


I have completed the tuyeres (air nozzles). This is where the combustion air enters the hearth. They are made from 3/8" pipe fittings - a short pipe nipple, a cap with a hole drilled, and a reducer that the nipple fits into. This way I can change the lengths and nozzle sizes very easily if I need to. I have to connect the seven of them with some sort of manifold. Probably will just be another ring welded onto the flange.


I welded the pipe fittings outside the hearth, and then cut them off nearly flush. This leaves room for the intake manifold:


Saturday, April 30, 2011

Dodge Truck interior


I have been away for most of the week, in North Carolina at Pete Wernick's Jam Camp. While I was gone, a box arrived in the mail for me. A seat cover for the Dodge truck I have been restoring. Here is what the seat looked like before:


Not too good. The seat had worn down right to the springs. Initially I was going to replace the bench, but the junkyard price was $100 and up, depending on the condition. I decided to try repairing the seat myself, using some foam from a seat cushion. I found a seat cover on Ebay for $13, so I ordered it.


Looking good! Yes, I vacuumed it. Plenty of room for new gauges when I get the gasifier installed.


The seat cover. The bench seat is tight and smooth, the back less so. But overall I am quite happy.


While I was sprucing things up, I painted the air cleaner top. I like red.


Didn't want to paint this part, so I just cleaned it up real good. Here it is back together again: